
Hi everyone, hope you have been well!
Today I am reviewing and trying out some high street makeup items that have caught my attention.
In this day and age, everyone is looking for a quick fix on everything, and for me personally, if there is a way I can speed up my makeup regime before work in the morning then I will take it.
'Stick Makeup' is a great way to speedily apply makeup as well as carry around due to mini size.
By no means am I a makeup expert, and would actually say that I am really inexperienced with makeup, particularly face makeup. Foundation seems to slip from my face, and a primer and powder are things that I see as an after thought. Therefore the latest beauty trends such as strobing and contouring really had me flumoxed. Even after watching endless videos on how to achieve the chiseled Kim Kardashian cheek bone, I still have no idea where to start.
Therefore I purchased these really inexpensive items in order to kick start my face slim down without breaking the bank at the risk of failing.
The first thing that makes me uneasy about contouring and strobing is texture. I don't know which is better or lasts longer out of powder or cream, or whether one is best suited to drier skin. If you can shed light on this I would love to know!
I went for cream products as I have dry skin and find them nicer on my skin. I also think for a beginner such as myself they are easier to handle.
So my contouring product is this Maybelline V Contour stick which costs £6.99.


I got mine in the shade light so the effects aren't too dramatic on my face.
The point of contouring is to add dimension to your face by highlighting parts of your face you want to bring forward and contouring to create shadows. I have also seen videos where artists have completely reshaped their nose or jaw line, but today I will be doing very basic stuff. Rome wasn't built in a day!
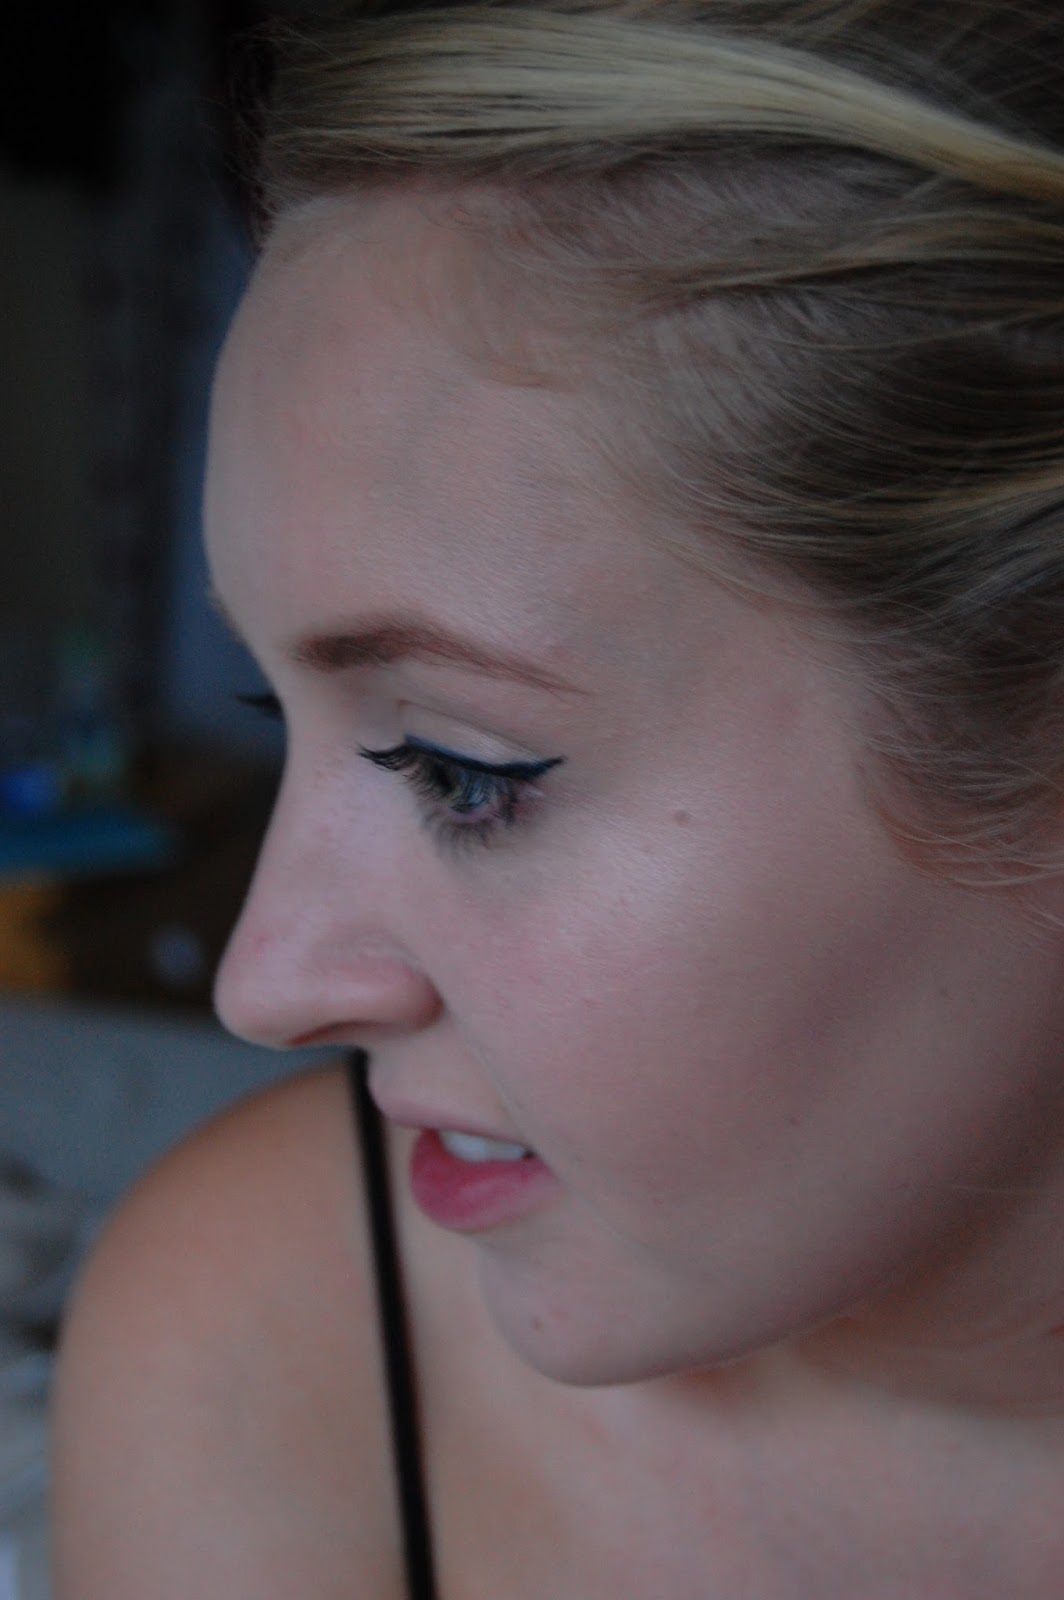
I applied the contour on my forehead, side of the nose and of course under the cheekbones to add depth.
I used the light side of the stick under my eyes, down the center of my nose, forehead, cupids bow and chin.


I then used my beauty bender to blend out the shades.


As you can see, my chubby little face has a bit of depth under the cheekbone which is where I want the most of the focus to be.

I think this product is a great way to get started, and to practice before purchasing more proffesional and expensive products such as the clinique highlight and contour chubby sticks that are a very similar idea. I would love to eventually try products such as the Anastasia Beverly Hills contour palette but I think I need more practice before spending that kind of cash. My only problem with this product is that eventually the two colours could potentially merge rendering the whole product useless, but I will keep you updated on that.
So next is highlight, and Barry M have bought out two shimmer strobe cream sticks in this pinky shade that I have, but also in a more brown toned bronzing highlight. For me, I chose the pinky toned one as I have fair cool toned skin so felt the bronzed one may look a little funny on me unless sporting a golden tan, and the pink more complimentary to my skin tone.


I just add this to my chekbones after applying my cream blush, and then once again use my beauty blender to get rid of the line created from the stick.


I think this adds a really subtle but pretty strobe to the face, and it is one of the products I can see myself re-buying.
Makeup on a stick is a great way to carry around makeup, as all your need are your products and perhaps one brush or blender to get flawless skin. I may investigate foundation sticks in the future, to see if the stick is the way forward!
Let me know if you have any recommendations or handy hints on contouring.
No comments:
Post a Comment