

Hello everyone! At Christmas I wrote a post about products I wanted to get from Father Christmas, and one of the things on that list was the Bare Minerals starter kit. Thank goodness he got he hint, because I managed to get it... for myself. The starter set me back £50 but it includes all the essentials you will need to start your Bare Minerals experience.
I must admit that I found the idea of Bare Minerals a bit daunting at first. I know that is a bit sad as it is only makeup, but the whole swirl and tap, which brush to use and when really confused me. The ladies on the counters are very helpful but it is hard to remember everything they say sometimes, so luckily the kit comes with a little DVD that you can pop on at home when you have the kit in front of you to start yourself up.


The kit comes with three essential brushes which are really good quality and worth keeping hold of! It also comes with your foundation colour which would have been personally matched to your skin, your primer, warmth, and mineral veil. The foundations themselves are £25 so to think you get all that for just £50 is actually a bit of a steal!
So why Bare Minerals? Well, Bare Minerals makeup is completely natural and allows your skin to breathe so is good for your skin, and is the only makeup that could be slept in (but you should take it off reaaaaally). As it is coming up to the summer now, bare minerals is perfect as it adds a lightweight feel, and as it is a powder is has a mattifying effect on skin that can get more oily.
For those with drier skin, the powder is also a good choice for you as it is actually quite creamy when applied to the skin. When rubbed between fingers the powder creams out slightly so it great for combination skin like mine. Now let me show you how all the kit works!
So, this is my face with no makeup on at all, not good hey?! My skin is really blotchy and red in places. I have terrible dark circles under my eyes, and I have quite a lot of redness and spots around my mouth and nose.

The first step, is to apply the 'Prime Time' primer which softens the skin ready for makeup application and will eradicate any shininess on the face. The Bare Minerals range does do a concealer, but it does not come in the starter kit so I just use the original foundation which works just as well.

They do however supply you with a small concealer brush, so you can really cover up any imperfections.

I would describe this foundation as power air brush. As it is a powder, people are very sceptical as to if it works or not, but honestly, it covers up just as well as any other form of foundation. To show you just how well it does, I have only concealed the left side of my face for you. I look a bit like 2 face from batman, but as you can see it is significantly lighter and more even skin toned.

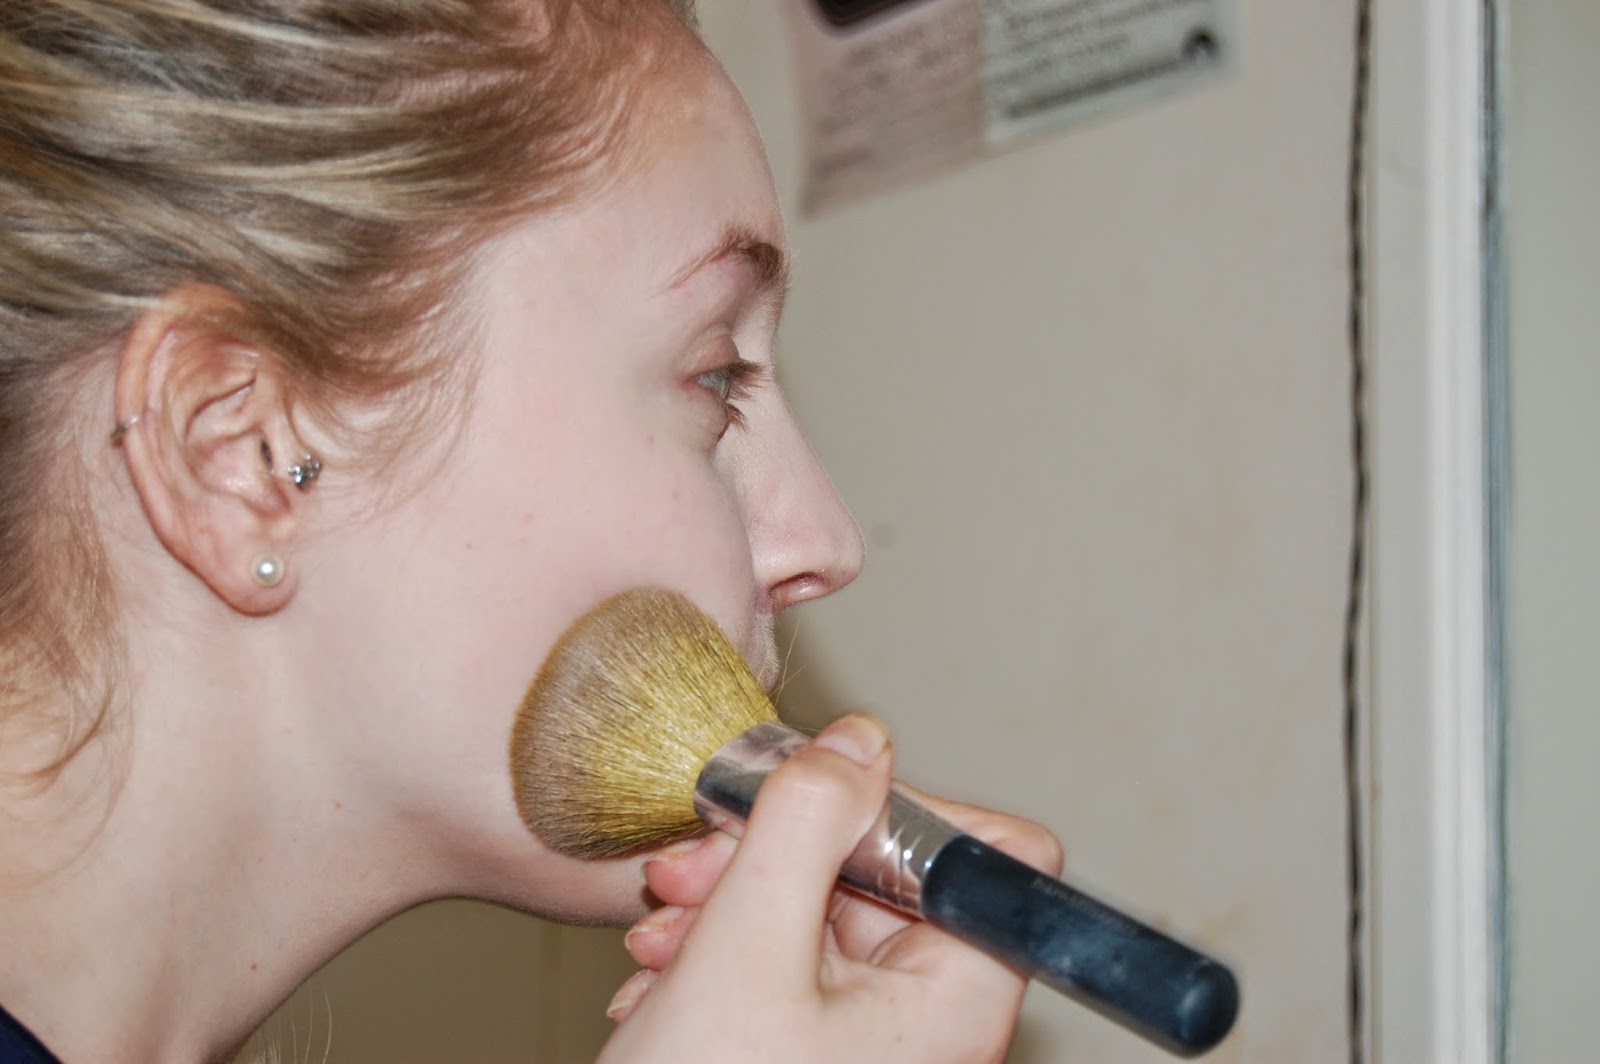
Once all the imperfections are concelaed, you will now need your brush for an all over face application.

You pour the contents into the lid, get the brush and swirl it in the powder and then tap on the side for any excess. You buff the powder all over the face.
It can go over the eyes too (LOL)


Ta da! And you are left with a very even skin tone. My foundation match was the lightest colour the have which is 'fair' so I am also left looking scarily pale and a little bit flat.
Have no fear though, because the next step is to add the 'warmth'. You REALLY don't need much of this at all. It is very very dark but when buffed over the face it adds definition and a natural glow.

You would buff this over the more prominent parts of your face where the sun would naturally fall on. So your forehead, cheeks, nose and chin.

I think we can agree I look a little bit more three dimensional now. Bare Minerals also do a range of blushers, but again they do not come in the starter kit. As I do like a blush as it suits my paler skin more than bronzer, I have just added some of my Bourjois blush in number 48 which is called "Ashes of Roses"


Once you are happy with the colour of your face, you can add the mineral veil, which is a iridescent powder that just sets everything into place, using the swirl and tap method you did for everything else. I find it gives that airbrush finish.

Add on everything else, and you are left with an airbrush finish that feels like you are wearing no makeup.

I am really happy with the results of my Bare Minerals makeup, and the powder really does last you a long time. I would highly suggest it for everyone as it is good to the skin, and covers so flawlessly.
Would you use Bare Minerals makeup?
Completely unrelated content, but whilst taking pictures for the post my sister managed to snap me just as I started to sneeze and I thought it was too funny to leave out, so here you go, you are welcome.

No comments:
Post a Comment